 Save to Pinterest
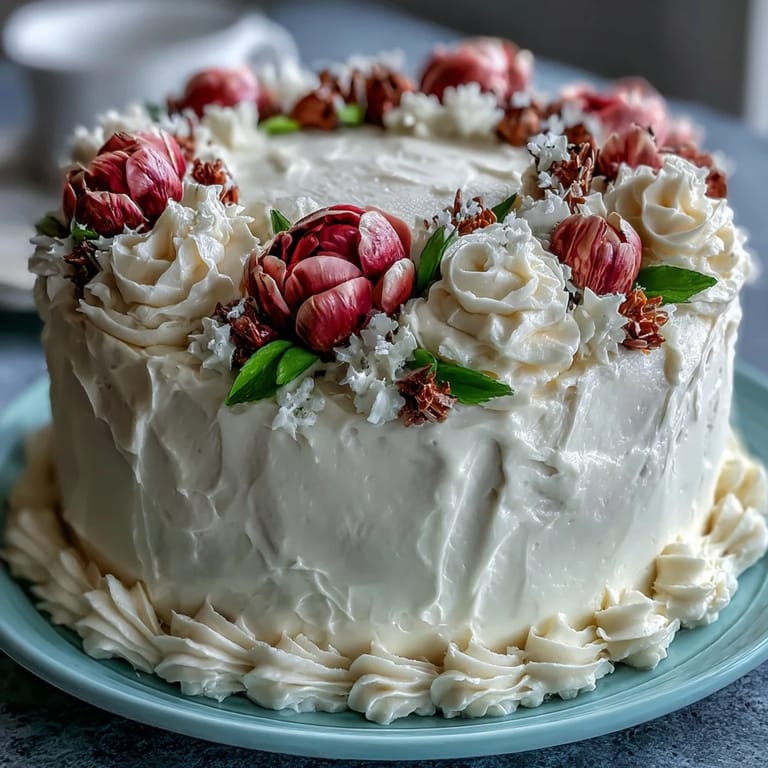
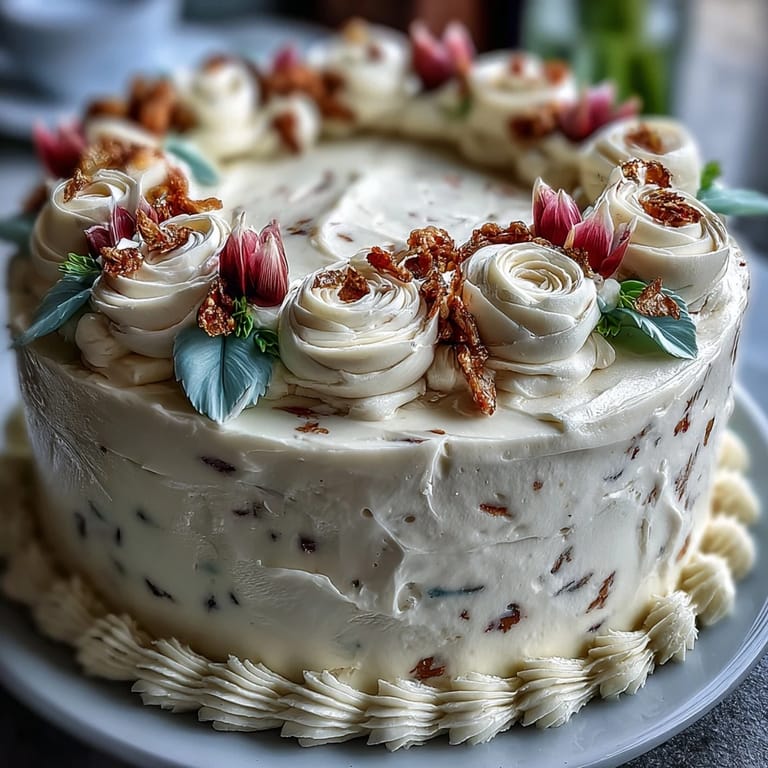
 My friend texted me at midnight asking if I could bake something special for her dual celebration—she was graduating and turning twenty-five on the same day, and she wanted it to feel like more than just a cake. I immediately thought of her Taurus stubbornness, her love of delicate things, and how she'd always admired those impossibly gorgeous floral cakes on Instagram. By morning, I had three cake pans heating and a determination to make her feel like the absolute star she is.
I remember standing in her kitchen at 6 PM, the cake layers cooling on the counter, and her mom walked in asking if I needed help. We ended up piping flowers together while she told stories about watching her daughter grow up, and suddenly the kitchen smelled like butter and possibility. That's when I realized this wasn't just about the cake—it was about marking a moment that mattered.
Ingredients
- All-purpose flour (2 1/2 cups): The foundation of a tender crumb, so measure by weight if you can for consistency.
- Baking powder (2 1/2 tsp): This is your leavening agent, so don't skip it or swap it with baking soda unless you enjoy dense cake.
- Salt (1/2 tsp): A small amount that amplifies vanilla and balances sweetness beautifully.
- Unsalted butter for cake (1 cup): Room temperature is non-negotiable—cold butter won't incorporate air, and you'll lose that tender crumb.
- Granulated sugar (2 cups): This creates structure and helps the cake rise evenly in the oven.
- Large eggs (4): Room temperature eggs blend more smoothly into the batter and create a better emulsion with the butter.
- Pure vanilla extract (1 tbsp): The soul of this cake, so use real extract, not imitation if you can.
- Whole milk (1 cup): Room temperature milk won't shock the batter and will blend more evenly into the flour mixture.
- Unsalted butter for frosting (1 1/2 cups): This needs to be softened but not melting, so plan ahead and leave it on the counter for 30 minutes.
- Powdered sugar (5 cups, sifted): Sifting removes lumps and prevents a grainy frosting that feels gritty on your tongue.
- Vanilla extract for frosting (2 tsp): Another shot of vanilla here makes the frosting taste like something memorable.
- Heavy cream or milk (2-4 tbsp): Start with 2 tbsp and add more if your frosting is too stiff to spread smoothly.
- Gel food coloring: Gel colors are concentrated and won't thin out your frosting like liquid colors do.
- Edible gold leaf or sprinkles: Optional but deeply satisfying for that Taurus luxury touch.
Tired of Takeout? 🥡
Get 10 meals you can make faster than delivery arrives. Seriously.
One email. No spam. Unsubscribe anytime.
Instructions
- Prepare your pans and heat the oven:
- Preheat to 350°F and line three 8-inch round pans with parchment paper—grease the pans first so the parchment stays put. This setup prevents stuck corners and guarantees even baking.
- Combine your dry ingredients:
- Whisk flour, baking powder, and salt together in a bowl and set aside. This step distributes the leavening evenly throughout the batter so you get a level rise.
- Cream butter and sugar:
- Beat butter and sugar on medium speed for 3-4 minutes until the mixture looks pale and fluffy, like clouds. You're incorporating air here, which is what makes the cake light and tender instead of dense.
- Add eggs slowly:
- Add each egg one at a time, beating well after each addition so it fully combines. Rushing this step results in a broken-looking batter, which actually still works but looks less appealing.
- Blend in vanilla:
- Mix vanilla extract into the creamed mixture just until it smells incredible. This is when your kitchen starts to promise something delicious.
- Alternate wet and dry ingredients:
- Add the flour mixture and milk in three batches, starting and ending with flour, mixing just until combined after each addition. Overmixing here activates gluten and toughens the cake, so be gentle and trust the process.
- Distribute batter evenly:
- Divide the batter equally among the three prepared pans and smooth the tops with a spatula. Equal distribution ensures all three layers bake at the same rate and stack level.
- Bake until golden:
- Bake for 28-35 minutes until a toothpick inserted in the center comes out clean or with just a few moist crumbs. The cake will smell amazing when it's ready—trust your nose as much as your timer.
- Cool strategically:
- Let cakes cool in the pans for 10 minutes, then turn them out onto wire racks to cool completely. Cooling completely is essential before frosting, or the frosting will melt and slide right off.
- Make your buttercream:
- Beat softened butter on medium speed until smooth and creamy, about 2 minutes. Gradually add sifted powdered sugar, beating well to avoid lumps, then mix in vanilla and cream until you reach a spreadable consistency.
- Tint your frosting:
- Divide the buttercream into separate bowls and add gel coloring a tiny bit at a time—you can always add more color but you can't remove it. The goal is soft pink, sage green, lavender, and pale yellow that feels like a garden.
- Level and layer:
- Place the first cake layer on a serving plate and spread a generous layer of plain buttercream between each layer. Level the cake tops with a serrated knife if needed so they stack evenly.
- Apply the crumb coat:
- Spread a thin layer of buttercream over the entire cake—this traps crumbs so they don't end up in your final frosting coat. Chill for 20 minutes so this layer sets and seals.
- Frost smoothly:
- Apply a thick final coat of buttercream, using an offset spatula dipped in warm water for a polished look. A cake turntable makes this easier, but you can do it on a regular plate with patience.
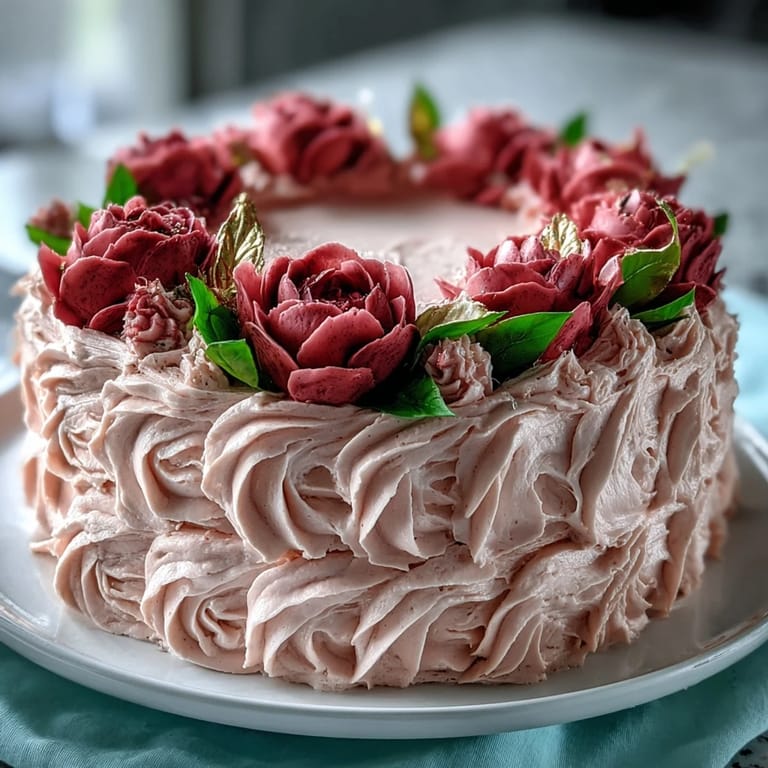
- Pipe your flowers:
- Fill piping bags with colored buttercream and petal tips, then pipe flowers around the cake in clusters—peonies, roses, whatever feels right. Add leaves with a leaf tip and let your hand move intuitively; flowers in nature aren't perfect anyway.
- Add celebratory touches:
- Dust with edible gold leaf or gold sprinkles to honor the Taurus and graduation milestones. Chill until serving time, then bring to room temperature for slicing.
 Save to Pinterest
 When I delivered that cake, she cried—not because it was perfect (the roses were a little wonky and one layer sat slightly crooked), but because someone had spent hours making her feel seen and celebrated on a day that mattered. That's what this cake really is: edible proof that you showed up.
The Magic of Floral Piping
The first time I attempted floral buttercream piping, I watched a YouTube video on 2x speed and thought I could wing it. My peonies looked more like abstract blobs, but something clicked when I stopped trying to be perfect and started playing with the piping bag like I was drawing. The pressure, the angle, the rotation of your wrist—these things matter, but they're learned through doing, not watching. Practice on parchment paper first if your nerves are high, but honestly, mistakes make the cake look more charming and genuine.
Personalization That Feels Intentional
The notes mention matching flowers to birth months or school colors, and this is the kind of small decision that transforms a pretty cake into one that feels made specifically for the person eating it. For a Taurus, consider earth tones—deep greens, warm golds, soft browns—or go bold with their favorite color scheme. Graduation colors deserve to be front and center, so research them and work them into your floral design intentionally. This cake is a celebration, so let it celebrate the actual person, not just the occasion.
Timing and Temperature Tips
Cake baking is as much about patience as it is about technique, and the cooling step is where most people rush and regret it. If you frost a warm cake, the frosting melts into something closer to sauce, and then you're stuck with a disaster that nobody wants to fix. Build the cooling time into your schedule—make the buttercream while the cakes cool, prepare your piping bags, and let the crumb coat set properly. Bringing the finished cake to room temperature before slicing seems counterintuitive, but it makes the cake slice cleanly instead of tearing, which saves you from crying over ruined pieces.
- Never frost a warm cake; you're just asking for frustration and sweating in the kitchen.
- A cake turntable is helpful but optional—you can frost beautifully on a regular plate by rotating the plate itself instead of your hands.
- If the frosting gets too soft while you're piping, pop it in the fridge for 5-10 minutes and it'll firm right back up.
 Save to Pinterest
 This cake exists to mark the people and moments that deserve to be remembered, frosting swirls and all. Make it, share it, and let it be imperfectly perfect.
Frequently Asked Questions
- → What flour is best for this cake?
All-purpose flour provides the right balance of structure and tenderness, ensuring a soft yet sturdy cake.
- → How do I achieve smooth layers?
Level each cake layer carefully before assembling, and spread an even layer of frosting to maintain smoothness and stability.
- → What technique suits floral buttercream decorations?
Using assorted piping tips like petal and leaf shapes, carefully layer the tinted buttercream to create lifelike flowers and foliage.
- → Can I customize the buttercream colors?
Yes, gel food coloring allows vibrant and varied floral shades for a personalized and appealing design.
- → How long should the cake chill before serving?
Chill the decorated cake for at least 20 minutes to set the frosting, then bring it to room temperature before slicing.
- → Are there any tips for enhancing flavor?
Adding a teaspoon of almond extract to the batter can deepen the flavor and complement the vanilla notes.