 Save to Pinterest
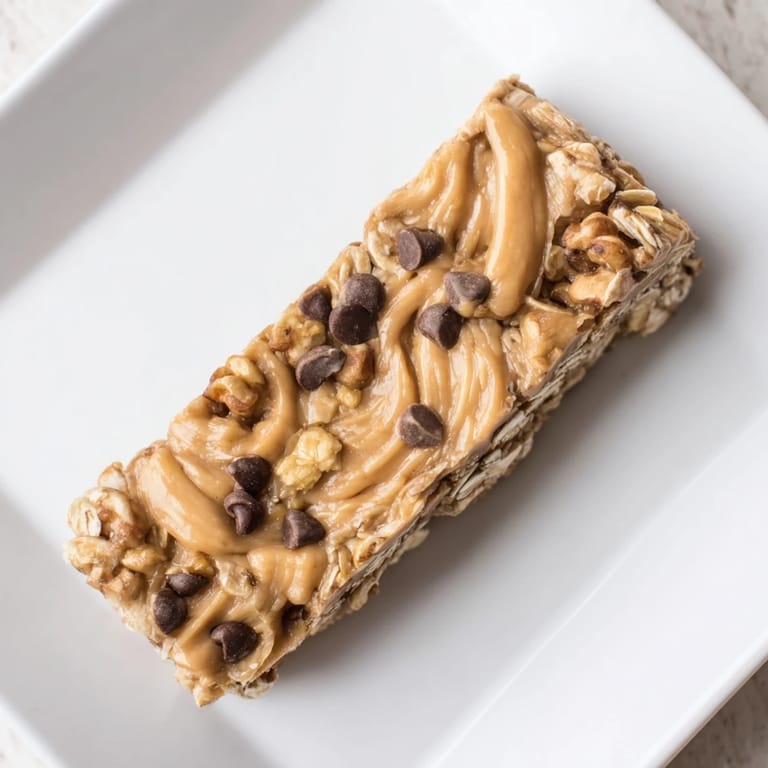
 I discovered these bars on a Tuesday afternoon when I was too lazy to bake anything proper but desperate for something better than store-bought snacks. My friend Sarah had just texted asking if I had anything filling to eat before her evening run, and I realized I had ripe bananas sitting on the counter that were getting spotty. Ten minutes later, she was biting into one of these with that surprised look people get when something simple turns out to be genuinely delicious. That's when I knew I'd stumbled onto something special—a snack that tastes indulgent but actually feels good to eat.
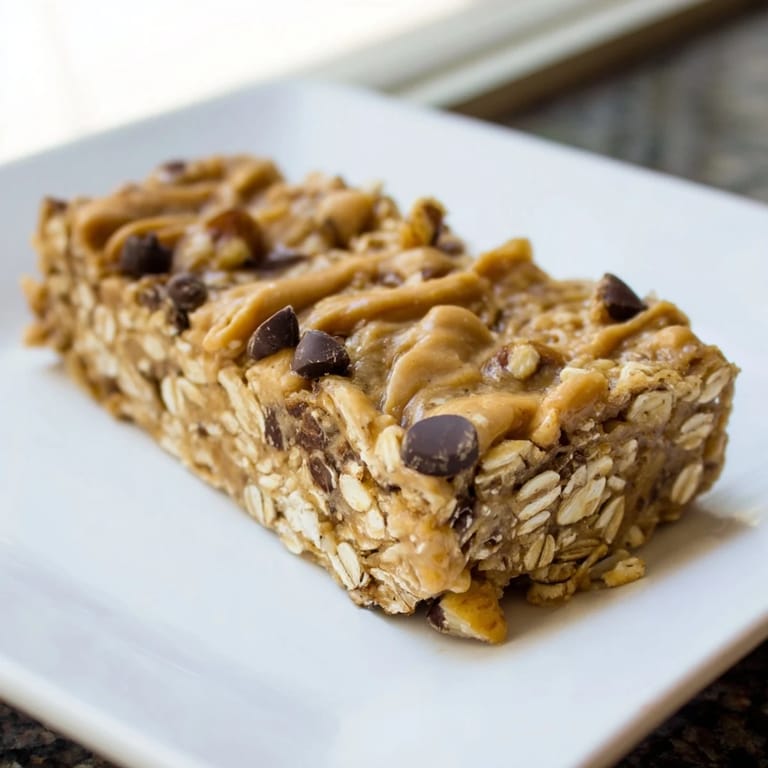
I made a batch for my daughter's school bake sale, except I didn't have to bake at all—I just chilled them and cut them into neat squares. The other parents couldn't believe they were no-bake when they tasted that chewy, dense texture. One mom asked for the recipe right there in the parking lot, which felt like the highest compliment.
Ingredients
- Ripe bananas: Use ones with brown spots on the skin—they're sweeter and easier to mash smoothly without lumps.
- Creamy peanut butter: Natural works, but the kind with a bit of added oil actually blends better into the mixture.
- Honey or maple syrup: This is your glue and sweetness; honey gives a rounder flavor while maple syrup feels earthier.
- Vanilla extract: A teaspoon lifts the whole thing so you taste peanut butter and banana first, not just oats.
- Old-fashioned rolled oats: Don't use instant—they'll make the bars too mushy and lose that pleasant chew you're after.
- Salt: Sounds small, but a quarter teaspoon balances the sweetness and deepens the peanut flavor.
- Ground cinnamon: Half a teaspoon adds warmth without tasting like a spice rack exploded in your mouth.
- Nuts and chocolate chips: Completely optional, but walnuts add crunch and mini chocolate chips distribute better than chunks.
Tired of Takeout? 🥡
Get 10 meals you can make faster than delivery arrives. Seriously.
One email. No spam. Unsubscribe anytime.
Instructions
- Set yourself up for success:
- Line your 8x8-inch pan with parchment paper, letting it overhang the edges a bit so you can lift the whole thing out later without wrestling with it.
- Mash the bananas:
- Break them down in a bowl until they're mostly smooth with just a few tiny flecks—lumps don't really disappear later. A fork works just fine; you don't need fancy equipment.
- Combine wet ingredients:
- Stir the peanut butter, honey, and vanilla into the bananas until everything is evenly mixed and looks like creamy pudding.
- Bring it all together:
- Add the oats, salt, cinnamon, and any mix-ins you're using, then stir until every bit of oat is coated and moistened—you want no dry spots.
- Press and chill:
- Transfer the mixture to your lined pan and use the back of a spoon or spatula to press it down firmly and evenly, then slide it into the fridge for at least an hour until it's firm enough to cut cleanly.
- Slice and store:
- Use the parchment overhang to lift the whole slab out, then cut into 12 bars with a sharp knife (a quick warm water rinse on the blade helps prevent sticking).
 Save to Pinterest
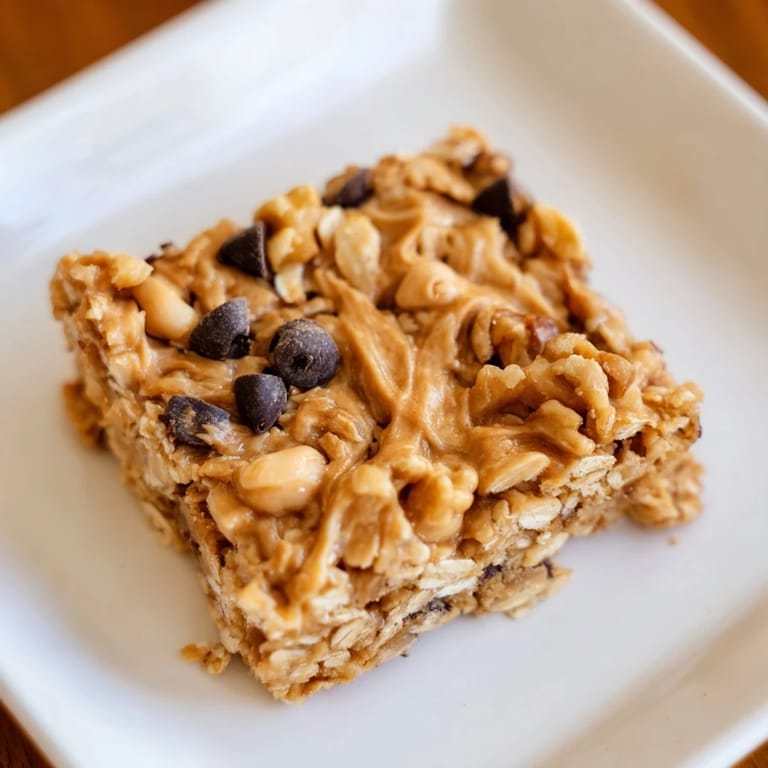
 My son brought home a permission slip for a field trip and I packed three of these in his lunch box. At pickup, his teacher asked me what I fed him because apparently he'd had more energy during the nature walk than usual. I laughed and promised to bring extras to the next classroom event.
Why These Work as an Actual Energy Snack
It sounds silly, but there's something about the combination of protein from peanut butter, sustained carbs from oats, and natural sugars from banana that actually sustains you. I've noticed the difference between eating one of these and grabbing a granola bar—this one doesn't make me hungry again twenty minutes later. The whole-food ingredients mean your body knows what to do with them, unlike bars full of mystery binders and thickeners.
Making Them Your Own
The beauty of this recipe is that it's a foundation, not a rigid formula. I've made versions with almond butter when I was going through an almond phase, stirred in dried cranberries because I was cleaning out my pantry, and once added a handful of unsweetened coconut just to see what would happen. Every version worked because the base—banana, peanut butter, oats—is reliable enough to carry whatever else you throw at it.
Storage and Make-Ahead Tips
These belong in the fridge, stacked in an airtight container where they'll last a solid week without getting weird. If you want to make a big batch for the month, you can actually freeze them individually wrapped in plastic wrap—they thaw in about twenty minutes and taste exactly the same as fresh. I've started making them on Sunday afternoons as part of my lazy meal prep, which sounds fancier than it is since the whole process takes less time than watching a TV episode.
- Keep them in the coldest part of your fridge to extend freshness.
- Wrap individual bars in plastic wrap or foil if you're taking them on the go.
- If they somehow soften from room temperature, just pop them back in the fridge for thirty minutes.
 Save to Pinterest
 These bars have become my go-to when I need to feel like I have my life together but can't be bothered with actual baking. They're wholesome enough to feel virtuous and delicious enough that nobody questions why you're eating two at a time.
Frequently Asked Questions
- → Can I substitute peanut butter with other nut butters?
Yes, almond or sunflower seed butter can be used as alternatives for different flavors or allergy considerations.
- → Are the bars suitable for a vegan diet?
By replacing honey with maple syrup and choosing dairy-free chocolate chips, these bars can be made vegan-friendly.
- → How should I store the bars to maintain freshness?
Store the bars in an airtight container in the refrigerator. They stay fresh for up to one week.
- → Can I add dried fruits or nuts to the bars?
Absolutely, dried cranberries, raisins, or chopped walnuts/pecans can be mixed in for added texture and flavor.
- → Is baking required for these bars?
No baking is necessary; simply mix, press into a pan, and chill until firm.