 Save to Pinterest
 The smell of warm pears and butter browning in the oven can turn any ordinary Tuesday into something worth pausing for. I started making this crumble on a whim one autumn when a neighbor left a basket of pears on my doorstep, too many to eat fresh before they turned. The first batch came out lopsided and a little pale, but the second time I learned to press that topping down firmly and let the oven work its magic. Now it's the dessert I make when I need something reliable, something that fills the kitchen with the kind of warmth you can almost taste before the first bite.
I made this for a small dinner party once, still warm from the oven, and watched three people scrape their bowls clean without saying much. One friend admitted later she thought crumbles were boring until she tasted one that wasn't soggy. That night I realized the difference is in how cold you keep the butter and how uneven you let the topping be, those big chunks turn golden and crisp in ways a uniform crumb never will.
Ingredients
- 6 ripe pears, peeled, cored, and sliced: Choose pears that yield slightly to pressure but aren't mushy, Bartlett or Bosc work beautifully and hold their shape without turning to mush.
- 2 tbsp lemon juice: This keeps the pears from browning and adds a brightness that cuts through the sweetness, I learned this after serving a batch that tasted flat.
- 1/4 cup granulated sugar: Just enough to coax out the pear juices without making the filling cloying, adjust up or down depending on how sweet your fruit is.
- 1 tsp vanilla extract: A warm undertone that makes the whole dish smell like a hug, don't skip it even if you think it won't matter.
- 1/2 tsp ground cinnamon: Adds gentle spice without overpowering the delicate pear flavor, I like to add a little extra on cold evenings.
- 1 tbsp all purpose flour: Thickens the bubbling juices just enough so they don't flood the topping, a small but crucial addition.
- 1 1/4 cups all purpose flour: The backbone of the crumble, I've used whole wheat flour before and it worked but tasted a bit heavier.
- 1/2 cup rolled oats: These add texture and a slight chew that makes every bite interesting, old fashioned oats work best.
- 1/2 cup light brown sugar, packed: The molasses in brown sugar gives the topping a deeper, almost toffee like flavor that white sugar just can't match.
- 1/2 tsp ground cinnamon: Echoes the spice in the filling and ties everything together, I sometimes add a pinch of ginger too.
- 1/4 tsp salt: Balances the sweetness and makes the butter taste richer, never leave it out.
- 3/4 cup unsalted butter, cold and cubed: The secret to a crumble that actually crumbles is keeping this butter ice cold until the moment you mix it in, warm butter makes a greasy mess.
Tired of Takeout? 🥡
Get 10 meals you can make faster than delivery arrives. Seriously.
One email. No spam. Unsubscribe anytime.
Instructions
- Preheat the oven:
- Set it to 375°F (190°C) and let it fully heat while you prep, a properly heated oven makes all the difference in getting that topping crisp. I always start here so I'm not waiting around later.
- Prepare the pear filling:
- Toss the sliced pears with lemon juice, sugar, vanilla, cinnamon, and flour in a large bowl until every slice is coated. Spread them evenly in a greased 9 inch baking dish, making sure there are no big gaps.
- Make the crumble topping:
- In a separate bowl, whisk together the flour, oats, brown sugar, cinnamon, and salt. Add the cold cubed butter and use your fingertips or a pastry cutter to work it in until you have a mix of coarse crumbs and pea sized chunks, don't overwork it or you'll lose that crunchy texture.
- Assemble and bake:
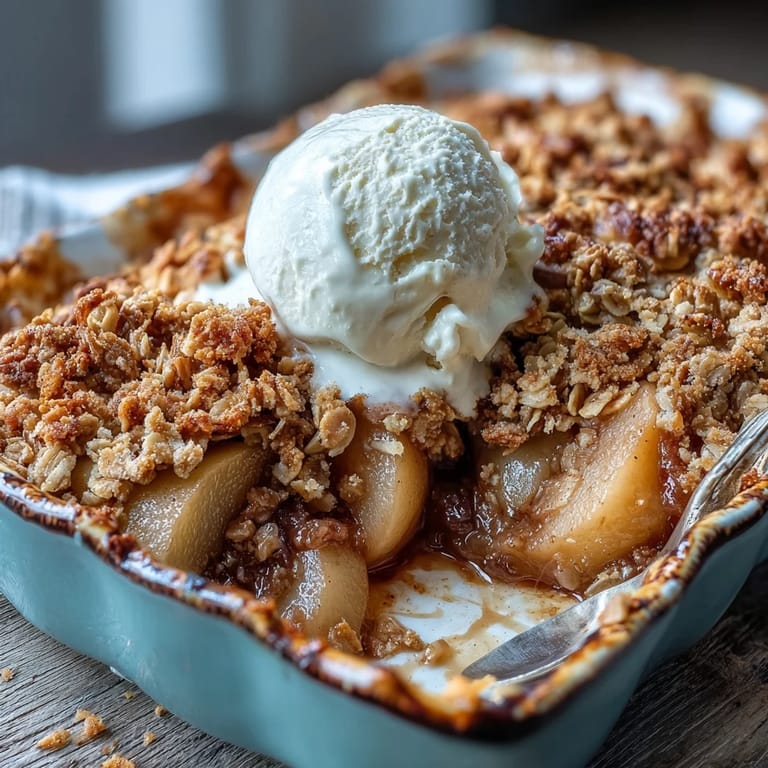
- Sprinkle the crumble topping over the pears, covering them completely and pressing down gently to create a thick layer. Bake for 35 minutes, until the topping is deeply golden and you can see the pear juices bubbling up around the edges.
- Cool and serve:
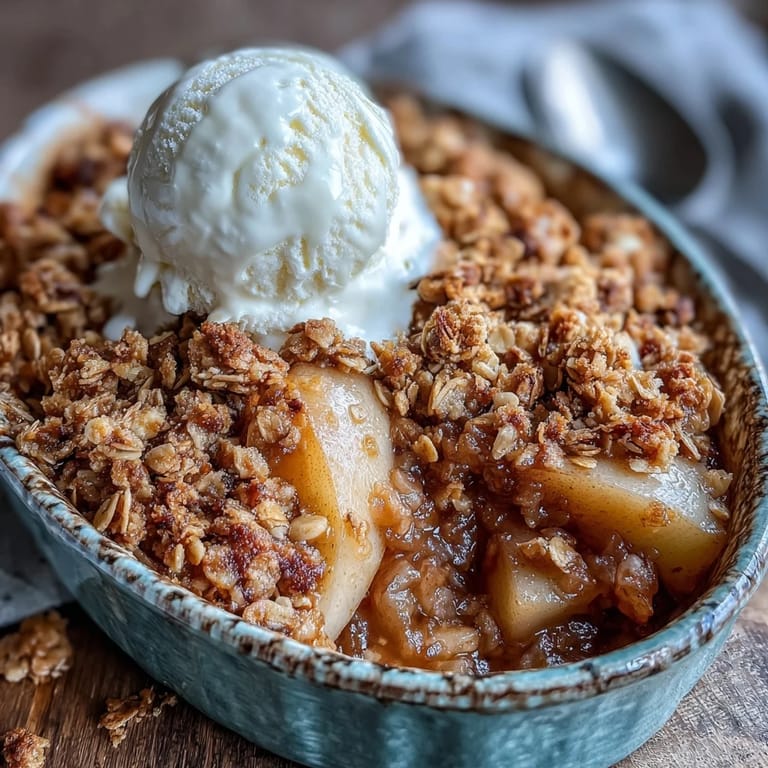
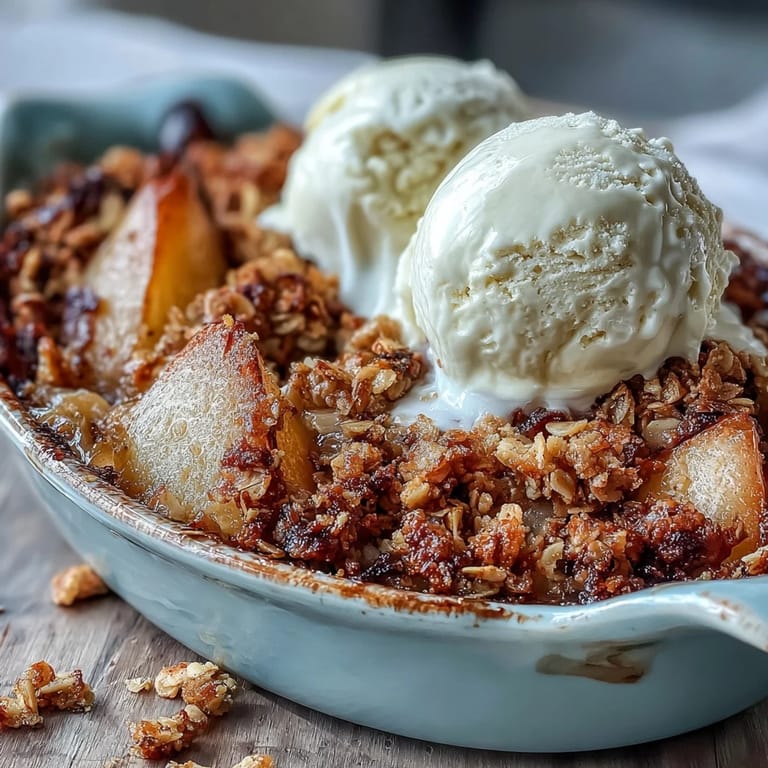
- Let the crumble rest for at least 10 minutes before serving so the filling thickens slightly. Serve warm with a scoop of vanilla ice cream or a dollop of whipped cream if you're feeling indulgent.
 Save to Pinterest
 There was an evening last winter when I pulled this out of the oven just as the snow started falling outside, and my partner said it smelled like the best kind of staying in. We ate it straight from the dish with two spoons, no plates, no ceremony. That's when I understood this dessert isn't really about impressing anyone, it's about creating a moment where everything slows down and tastes exactly right.
Choosing the Right Pears
Not all pears bake the same, and I learned this after a batch turned to soup. Bartlett pears are sweet and soft, perfect if you like a jammy filling, while Bosc pears hold their shape better and have a subtle spice to them. I've had the best luck using a mix of both, ripe but still firm to the touch, and never pears that are rock hard or they won't cook through in time. If your pears are underripe, add an extra five minutes to the bake and check for tenderness with a fork.
Making It Your Own
This crumble is forgiving and practically begs to be tweaked. I've swapped half the pears for tart apples when I wanted more bite, stirred in a handful of chopped walnuts for crunch, and even added a pinch of cardamom once when I was feeling adventurous. A friend of mine makes it gluten free with almond flour and certified gluten free oats, and honestly, you'd never know the difference. The key is keeping the proportions roughly the same and not overthinking it, crumbles are meant to be a little rough around the edges.
Storing and Reheating
Leftovers keep covered in the fridge for up to three days, though the topping will soften as it sits. I reheat individual portions in a 350°F oven for about ten minutes to crisp the top back up, microwaving works in a pinch but you lose that crunch. Sometimes I make a double batch and freeze half before baking, then pull it out on a weeknight and bake it straight from frozen, adding an extra ten minutes to the time.
- Cover loosely with foil if the top browns too quickly during baking.
- Serve with a drizzle of heavy cream for a simpler, more rustic finish than ice cream.
- Taste your pears before adding sugar, sometimes they're sweet enough that you can cut back to three tablespoons.
 Save to Pinterest
 This crumble has become my answer to almost every occasion, whether it's a quiet night in or a table full of guests. It's proof that the best recipes are the ones you stop measuring precisely and start making by feel.
Frequently Asked Questions
- → Can I use different types of pears?
Yes, use any ripe pears you have available. Bartlett, Anjou, or Bosc pears all work beautifully. Just ensure they're ripe but still slightly firm for the best texture after baking.
- → How do I make the crumble topping extra crunchy?
Use cold butter and work it quickly into the dry ingredients, leaving some larger chunks. Don't overwork the mixture - larger pieces create a crunchier texture. You can also add chopped nuts for extra crunch.
- → Can I prepare this dessert ahead of time?
Yes, assemble the crumble up to 24 hours in advance and refrigerate covered. Bring to room temperature before baking, or add 5-10 minutes to the baking time if baking directly from the refrigerator.
- → What can I substitute for butter to make it dairy-free?
Use cold coconut oil or a plant-based butter alternative. The texture will be slightly different but still delicious. Make sure whatever you use is cold and solid for the best crumble consistency.
- → How do I know when the crumble is done?
The topping should be golden brown and crispy, and you should see the pear juices bubbling around the edges. If the top browns too quickly, cover loosely with foil and continue baking until the fruit is tender.
- → Can I freeze leftover crumble?
Yes, cool completely and freeze in an airtight container for up to 3 months. Reheat individual portions in the oven at 350°F until warmed through and the topping crisps up again.